
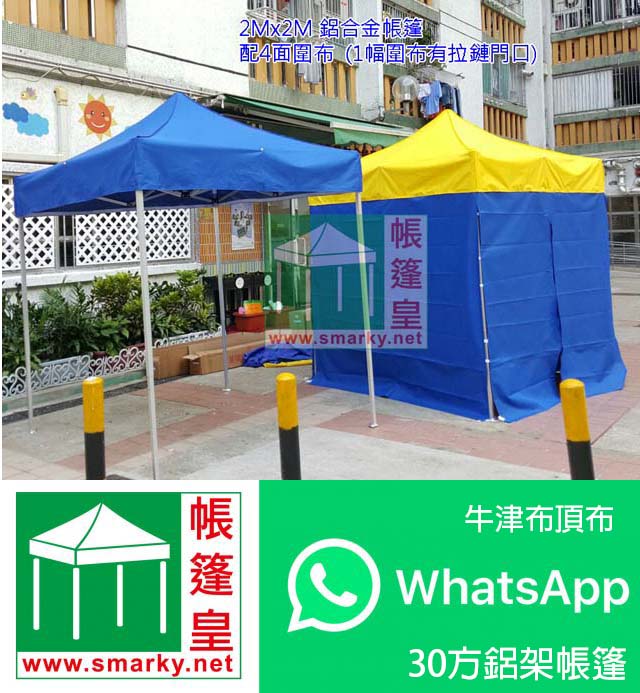
Canopy tent setup
Setting up a canopy tent can vary depending on the specific model and manufacturer of the tent. However, here are some general steps that can help guide you through the process:
Choose a flat and clear area to set up the canopy tent. Make sure there are no obstructions or hazards in the area.
Unpack the tent and all its components, including the poles, stakes, and ropes.
Lay the canopy top on the ground, making sure it is spread out flat and smooth.
Assemble the frame of the tent by connecting the poles according to the instructions provided by the manufacturer. Make sure all the poles are securely connected and in the correct position.
Once the frame is assembled, lift it up and position it on top of the canopy top.
Attach the canopy top to the frame by securing it to the frame using the hooks, velcro or clips provided. Make sure the canopy top is securely attached and evenly distributed over the frame.
Anchor the tent to the ground by using the stakes or sandbags provided, or other heavy objects like water jugs if needed.
Adjust the height of the canopy if your model allows it. This can be done using the adjustable legs.
Check that all the parts of the tent are securely in place and tighten any loose parts.
Finally, make sure the tent is stable and safe for use before placing any items underneath.
It’s important to follow the instructions provided by the manufacturer as they may differ depending on the model of the canopy tent.